Level selection in your Unity game
Introduction
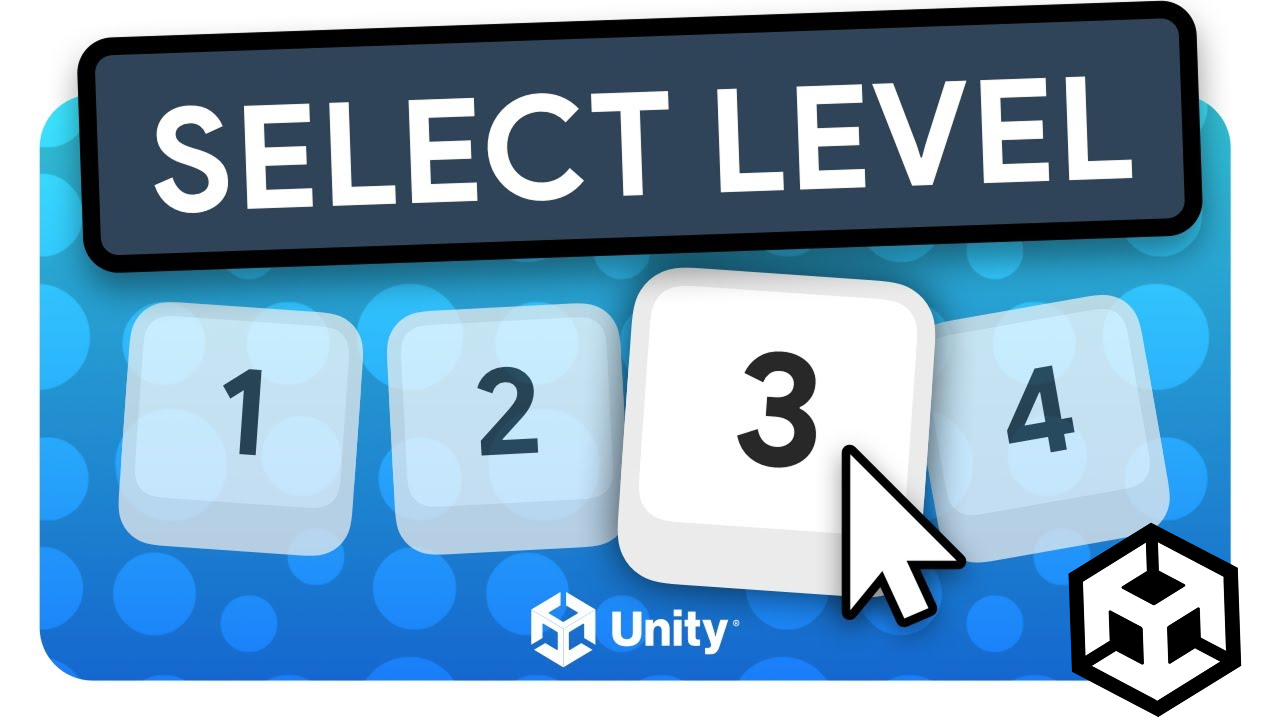
Creating an inviting and efficient Level Selection UI is an essential feature for any multi-stage game. In this tutorial, we’ll walk you through designing a sleek level selector in Unity, giving players a clear gateway to each stage—all while keeping your project organized and scalable. Whether targeting beginners or rapid prototyping, this guide covers both traditional and universal scene approaches.
Step 1: Create the Level Selection UI
- Start from Scratch: Open a new
LevelSelectionscene. In the Hierarchy, right-click your Canvas, choose UI > Button, and rename it toLevelSelector. - Stylize the Button: Resize to
100 × 100 px, set a rounded rectangle as the source image, and pick your preferred color palette for a modern look. - Label Your Button: Inside the button’s Text child, set the label to “1” and tweak the font and size for clarity.
- Tip: Want custom rounded buttons? Explore guides on customizing Unity UI shapes for extra polish.
Step 2: Make Buttons Launch Levels
- Add Level-Loading Script:
- Select the button, click Add Component, create a new script called
LevelSelector. - Open the script and add:
- Select the button, click Add Component, create a new script called
  C#using UnityEngine;
using UnityEngine.SceneManagement;

public class LevelSelector : MonoBehaviour
{
    public void OpenScene()
    {
        SceneManager.LoadScene("Level 1");
    }
}
- Connect OnClick: Back in Unity, with the button selected, add an On Click event and link it to
LevelSelector.OpenScene(). - Build Settings Reminder: If the scene won't load, ensure it's added in File > Build Settings.
Step 3: Build a Grid of Level Buttons
- Prefab Creation: Drag your
LevelSelectorbutton into a newPrefabsfolder in Assets. - Setup the Grid:
- Right-click Hierarchy, Create Empty > name it
Grid. - Add a Grid Layout Group component, set it to a constraint (e.g., 4 columns), align to Upper Center, and set spacing.
- Right-click Hierarchy, Create Empty > name it
- Duplicate Quickly: Drop your button prefab into Grid eight times—watch as Unity aligns them automatically for a tidy, clickable menu.
Step 4: Make Each Button Load Its Level
- Upgrade the Script: Edit
LevelSelector.cs:
  C#using UnityEngine;
using UnityEngine.SceneManagement;
using UnityEngine.UI;

public class LevelSelector : MonoBehaviour
{
    public int level;
    public Text levelText;
    void Start() => levelText.text = level.ToString();
    public void OpenScene() => SceneManager.LoadScene("Level " + level);
}
- Prefab Configuration:
- Set the
levelTextfield by dragging the Text child into the Inspector. - Set each button’s
level(1–8) in their Inspector, ensuring unique numbers.
- Set the
- Now each button opens its corresponding scene and updates its label automatically!
Step 5: Universal Scene Option (Advanced)
Instead of individual scenes, you can funnel every button into a single scene and use a static variable to keep track of which level was selected.
- Static Pass-Through:
Edit
LevelSelector.csagain:
  C#public static int selectedLevel;
public void OpenScene()
{
    selectedLevel = level;
    SceneManager.LoadScene("UniversalLevel");
}
- Don’t Forget: Add
UniversalLevelto the Build Settings.
Step 6: Show the Correct Level in the Universal Scene
- Create Manager Script: Add
UniversalLevelManager.cs:
  C#using UnityEngine;
using UnityEngine.UI;

public class UniversalLevelManager : MonoBehaviour
{
    public Sprite[] backgrounds;
    public Image background;
    public Text levelText;

    void Start()
    {
        int level = LevelSelector.selectedLevel;
        levelText.text = "Level " + level;
        background.sprite = backgrounds[level - 1];
    }
}
- UI Setup:
- Attach to a Canvas in
UniversalLevelscene. - Assign a Text for
levelText, an Image forbackground, and set up an array of Sprite backgrounds per level.
- Attach to a Canvas in
Conclusion
With this approach, you unlock a flexible and modern level selection system, ready for any game that uses recurring core logic and just needs new visuals per stage. Use your creativity for button styling and grid layout, and streamline your workflow by leveraging a universal level scene for scalable projects.