How to create Progress Bars and buttons in Godot
Loading...
UI elements are one of most essential things in game development. Today, we'll explore how to create and customize two essential UI components in Godot: Progress Bars and Buttons!
Creating a Progress Bar
Progress Bars are useful for displaying the completion of a task or the player's progress in a game. Here's how to create and customize a Progress Bar in Godot:
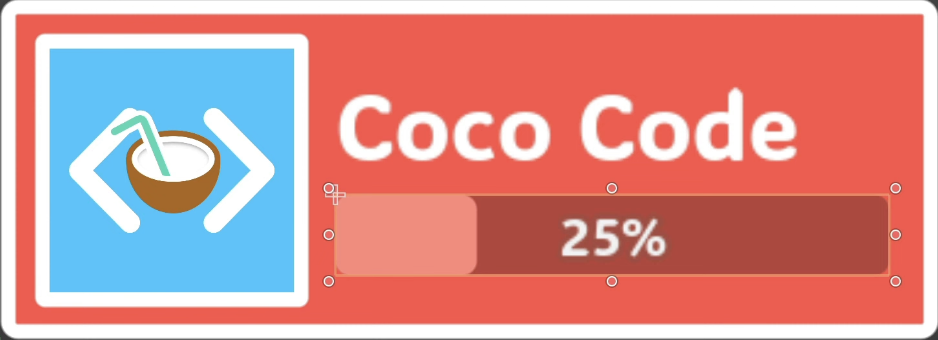
Preview
1. Add ProgressBar Node
- Open the Scene panel and select PlayerInfoBox.
- Right-click and choose "Add Child Node".
- Search for ProgressBar and add it.
2. Set Anchors
- Select the ProgressBar node.
- Use the "Button Wide " preset to make sure the Progress Bar stretches and scales with container.
3. Customize Theme Of Progress Bar
You can make your Progress Bar more appealing by customizing its theme.
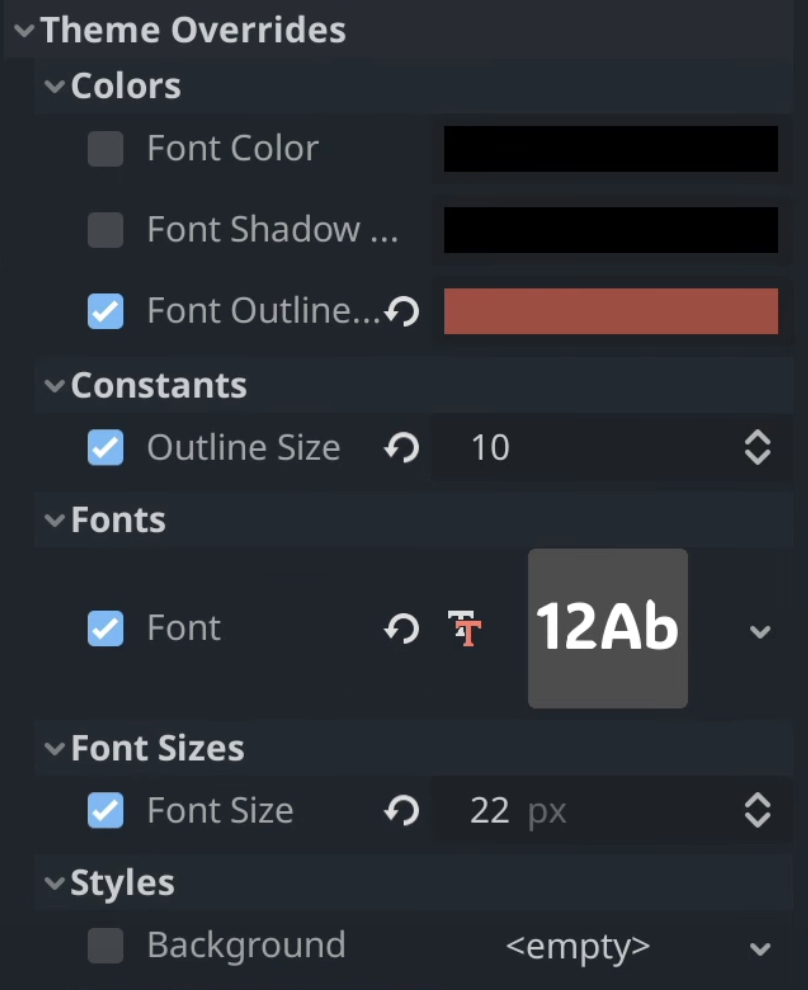
- In the Inspector panel, click the "Theme Overrides" section.
- Here, you can select "Styles" to modify the slider's appearance or fonts to change the its look.
- Adjust the font size, color, and add outlines to make the text stand out.
- Customize the slider's background and fill area to match your game's visual style.
For example, you can set a background of the progress bar and use outlined text. Experiment with different styles to achieve your dream results!
Preview
How To Create Buttons In Godot?
Buttons are interactive elements that trigger actions when clicked. Let's create a button and add some style to it!
1. Add Button
Start by adding a new Button to your scene.
- Open the Scene panel.
- Search for Button and add it to the scene.
2. Change button styles
Next, customize the button's appearance and text.
- Select the Button.
- In the Inspector panel, set the text property to the desired label, such as "Start Game" or "Submit".
- Modify the button's style just like the Progress Bar. You can change its font, font color, and background to fit your game's theme.
3. Add Script to the Button
To make the button functional, you need to add a script to it.
- Select the Button and select script option.
- Go to the "Node" tab.
- Double-click the "pressed" to open a signal to a method window.
- Select the script you want to connect.
- Click "Connect" to generate a on buton pressed function.
4. Code your button logic
The easiest way to test out your button would be to print out a text in the console:
  python1func _on_button_pressed():
2		print("Button pressed!")
These elements will not only improve the visual appeal but also provide essential elements to your game.

Hi! Why don’t you visit my discord?
Copyright © 2024-2025 Teal Fire